Ever start hanging wall art and suddenly realize the couches aren’t even in place? Decorating a living room can feel messy if you go out of order—one wrong step and you’re either stuck moving stuff twice or making a lot more holes than needed. If you stick to the right sequence, everything falls into place with way less frustration.
Begin with a blank slate. Clear out as much as possible—old furniture, mismatched rugs, the forgotten pile of mail. This isn’t just about cleaning up: it’s your chance to really see the room, its shape, and the light at different times of day. Think of it as wiping the canvas before painting, except your canvas is where you binge-watch after work.
- Start with a Clean Slate
- Set the Foundation: Floors, Walls, and Paint
- Furniture Placement Comes Next
- Add Layers and Final Touches
Start with a Clean Slate
Every epic living room decor success story begins here—clearing the decks. If you try to decorate around clutter or old furniture, you’ll end up making choices that don’t really fit the space or your new style. Your goal is to see the bare bones of your room, so you can spot awkward corners, hidden outlets, and all the good natural light you might’ve forgotten about.
Here’s what you need to do first:
- Move out all loose stuff—magazines, old pillows, and anything you don’t use.
- Take down wall art, curtains, and knick-knacks. You want those walls totally exposed.
- Pull away furniture from the walls, or better yet, remove it from the room if you can. That blank space helps you see layout problems and storage opportunities you missed before.
- Give the space a proper cleaning. Dust, vacuum, and even mop so you’re not decorating on a dirty slate.
People who seriously declutter before starting are way less likely to regret their choices. According to a 2022 survey by Houzz, rooms that were fully cleared before a re-do got reported as “very satisfying” by 73% of homeowners—compared to just 46% satisfaction when the old stuff hung around.
If you’re working with shared spaces (like an open living-dining combo), use this step to tape off visual lines on the floor using painter’s tape. That way, you can picture boundaries before buying or moving a single piece of furniture. Trust me, that little trick saves so much time.
Set the Foundation: Floors, Walls, and Paint
This is the stage where your living room decor really starts to take shape. Skip this, and you’ll just end up shuffling furniture around chip marks and patchy paint.
Start with the floors. If you want to refinish hardwood, lay down tile, or install new carpet, now’s the time. Flooring is messy, noisy, and way easier with nothing in your way. Still love your floor? At least give it a deep clean. If you’re adding a big rug (and honestly, a rug brings instant coziness), pick one that matches the size of your room and arrange it so the main seating area fits comfortably on top.
Next come the walls. Painting or wallpapering before anything else just makes sense. You don't want paint splatters on your new sofa or to move furniture twice. When picking wall colors, think about the light in your room—north-facing living rooms usually catch cooler light, while south-facing rooms pull warmer tones. Don’t just guess in the store; grab some paint samples and stick them up for a few days. You’ll notice that colors look totally different at noon versus after dinner.
- Fill holes or dings before painting for a smooth look.
- If you choose wallpaper, make sure the surface is extra clean and dry.
This is also your chance to add built-ins or change molding. Any big change that’s easier with clear space goes here: think wainscoting, shelves, or crown molding. Yes, it takes time, but you only have to do it once.
One handy fact: According to a 2024 Home Decor survey, 67% of homeowners who started with floors and walls said the rest of their decorating went faster and looked more coordinated. So don’t skip this.
| Foundation Task | Best Time to Do It | Pro Tip |
|---|---|---|
| Flooring | Empty room, before painting | Let new floors cure 24-48 hours |
| Painting | After floors, before furniture | Test color in all light conditions |
| Walls/Trim Upgrades | Before hanging art/adding furniture | Measure twice, cut once for trim |
Getting this groundwork right makes everything you do next easier. Your future self will thank you when the sofa, curtains, and art all look like they belong together.
Furniture Placement Comes Next
This is where things start to feel real. Once your walls, floors, and paint are sorted, it’s time to work out where everything will actually sit. Don’t just shove things back the way they were—this is your shot to rethink the whole layout. The trick is to plan for how you actually live in your living room decor. Do you crash on the couch with friends, host family game nights, or chill solo with a book?
First, figure out your room’s focal point. Maybe it’s the TV, a fireplace, or big windows. Point your main seating—like your sofa or sectional—toward that. Then, build around it. Accent chairs, coffee tables, and side tables should be in comfy reach. Here’s a super practical rule: leave at least 16 inches between your coffee table and couch, so no one bangs their knees but it’s still close enough for snacks or coffee.
Here’s a snag most people hit: putting all the furniture against the wall. Instead, pull things in a bit to create a cozy zone for talking or watching TV. Try grouping chairs and tables into a "conversation area," especially if your living room is big or open-plan. Use a rug to anchor everything—just make sure the front legs of your seating sit on the rug, not off it.
- Measure your furniture before lugging it around the room. Save your back and avoid scratching the new floors.
- If you’re adding a new piece (say, a bigger couch), use painter’s tape to mark it on the floor so you can see the real footprint before buying.
- Make sure there’s a clear walkway; aim for at least 30-36 inches of space between groups of furniture or in high-traffic areas.
If you’re working with a small space, try pieces that do double duty, like ottomans with hidden storage or side tables that tuck in tight. Remember, every inch counts, but you don’t have to fill every corner. Sometimes, less furniture actually makes a room makeover look bigger and better.
Studies from the American Home Furnishings Alliance show that when people plan the furniture layout before bringing in accessories, they’re happier with how the room works and feels a year later. So, grab a sketch pad—or just pencil on graph paper—and play around with some different options before you commit to anything heavy.
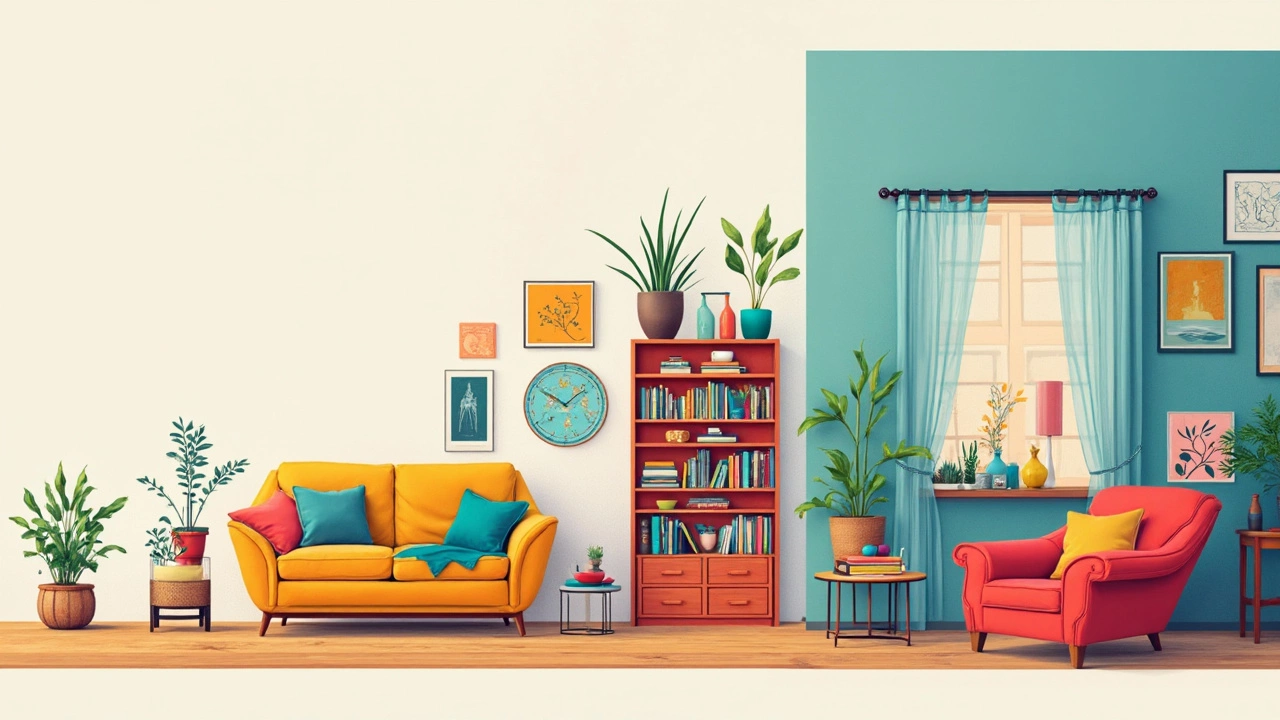
Add Layers and Final Touches
Once the main furniture is in place, now comes the part where your living room decor really gets its personality. This is about adding layers—think rugs, lighting, throw pillows, blankets, and art. These small things pull the whole look together and make the space feel finished instead of just tossed together.
Start with area rugs. They do more than just look nice—they help define spaces, especially in open-plan rooms. Design experts suggest the bigger the rug, the better. If the rug touches at least the front legs of all furniture pieces, it visually ties everything together.
Layer your lighting. Overhead lights alone make everything feel flat, so add table lamps, floor lamps, or wall sconces. This tip actually comes from a 2023 Houzz survey, where 61% of people said better lighting made their living rooms feel more inviting.
Next up, bring in the fabrics. Mix up your throw pillows—odd numbers look more casual, even numbers give a bit of order. Pick at least two patterns, but don’t go overboard. A chunky blanket draped over a chair instantly makes it look cozy.
- Rugs to anchor spaces
- Lighting for mood
- Pillows and blankets for comfort
- Plants or greenery for freshness
- Personal items like books or framed photos
You don't have to be a pro to hang art the right way. Just keep artwork at eye level—usually about 57 to 60 inches from the floor to the center of the piece. And if you’re doing a gallery wall, lay it out on the floor first. This saves a lot of re-dos and random holes in the wall.
“A well-layered room feels lived-in, welcoming, and never stiff,” says Emily Henderson, renowned home stylist. “The magic is in the details.”
Plants are the not-so-secret ingredient for a happy room. Studies backed by NASA (yes, really) found that real plants can improve air quality. But even fake ones do the trick visually if you don’t have a green thumb.
Finally, sprinkle in your stuff—books, trays, baskets, a quirky vase. Just don’t put every single thing you own on display. Rotate things out and change it up by season or mood.
| Layer | Estimated Impact |
|---|---|
| Lighting | 61% report better mood & ambiance |
| Rugs | Visually expands space by up to 20% |
| Plants | Boosts perceived air quality and energy |
Bringing in these final touches makes your living room decor not just styled, but real—ready for movie nights, lazy Sundays, or a full house of friends. And if a space doesn’t work, it’s almost always in these last details, so don’t skip them.