
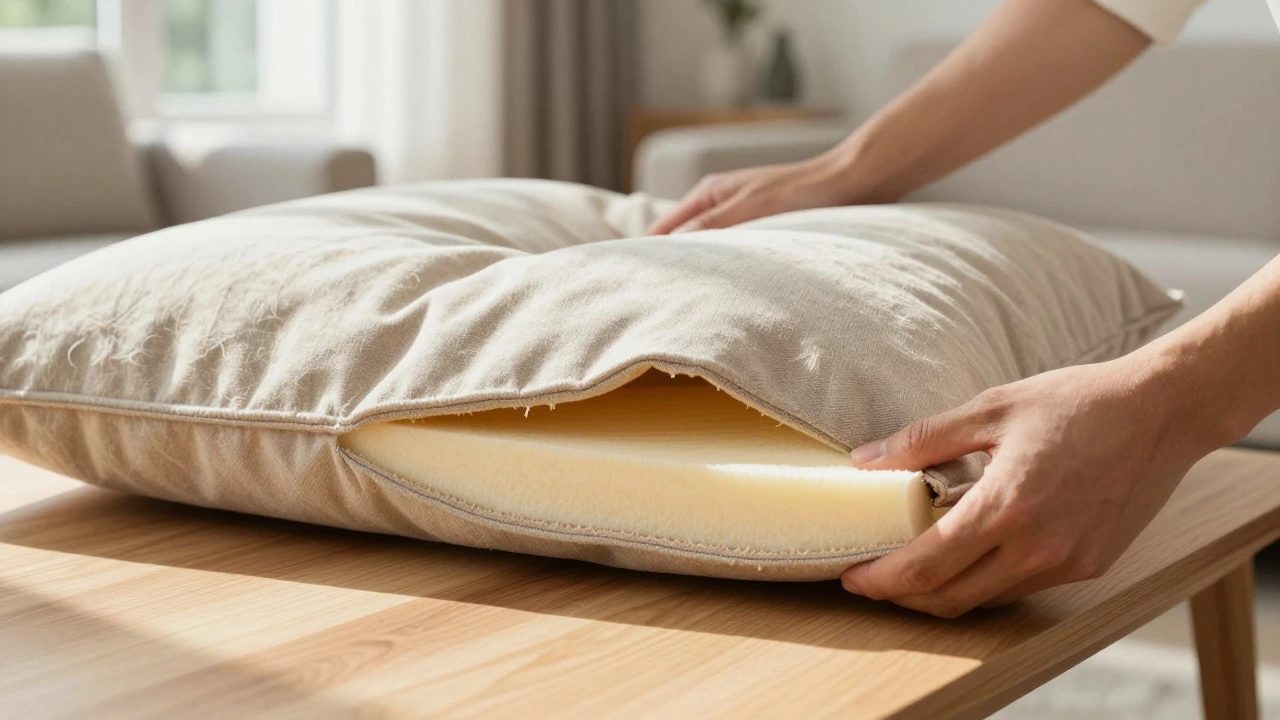
Couch Cushion Repair Planner
Select the issue that best matches your couch cushion.
Cost & Time Estimate
- Est. Material Cost $20 - $50
- Time Required 2 - 4 Hours
- Difficulty Moderate
Step-by-Step Checklist
There is nothing quite like the sinking feeling of sitting down on your favorite spot only to feel the cushion sink unevenly or hear a suspicious creak. A separated couch cushion is a common furniture issue where the fabric cover detaches from the internal frame or foam core, often due to wear and tear or poor initial construction. You don't need to throw it away or pay a professional hundreds of dollars for a simple fix. Most separated cushions can be repaired at home with basic tools and a bit of patience.
Quick Summary / Key Takeaways
- Couch cushion repair usually involves either resewing the seam, replacing the inner foam, or reattaching the cover to the frame.
- You will need a sewing machine (or hand-sewing skills), polyester thread, scissors, and possibly new foam inserts.
- Check if the separation is just the outer slipcover or the actual structural foam before starting.
- Using high-density foam prevents the cushion from sagging again within six months.
- Always clean the area before reassembling to prevent mold or odor buildup.
Diagnose the Type of Separation
Before grabbing your needle, you need to know exactly what has failed. There are generally three types of separation issues. First, the fabric cover has ripped away from the zipper or seams. Second, the internal foam has collapsed or shifted, causing the shape to bulge out of the cover. Third, the entire cushion unit has detached from the sofa frame itself, which is rarer but possible in older models.
If the fabric is intact but the cushion feels lumpy, the problem is likely inside. If the fabric is visibly pulling away or there is a gap between the material and the edge, it is a seam failure. Identify this first because it determines whether you are doing a quick sew job or a full re-stuffing project.
Tools and Materials You Need
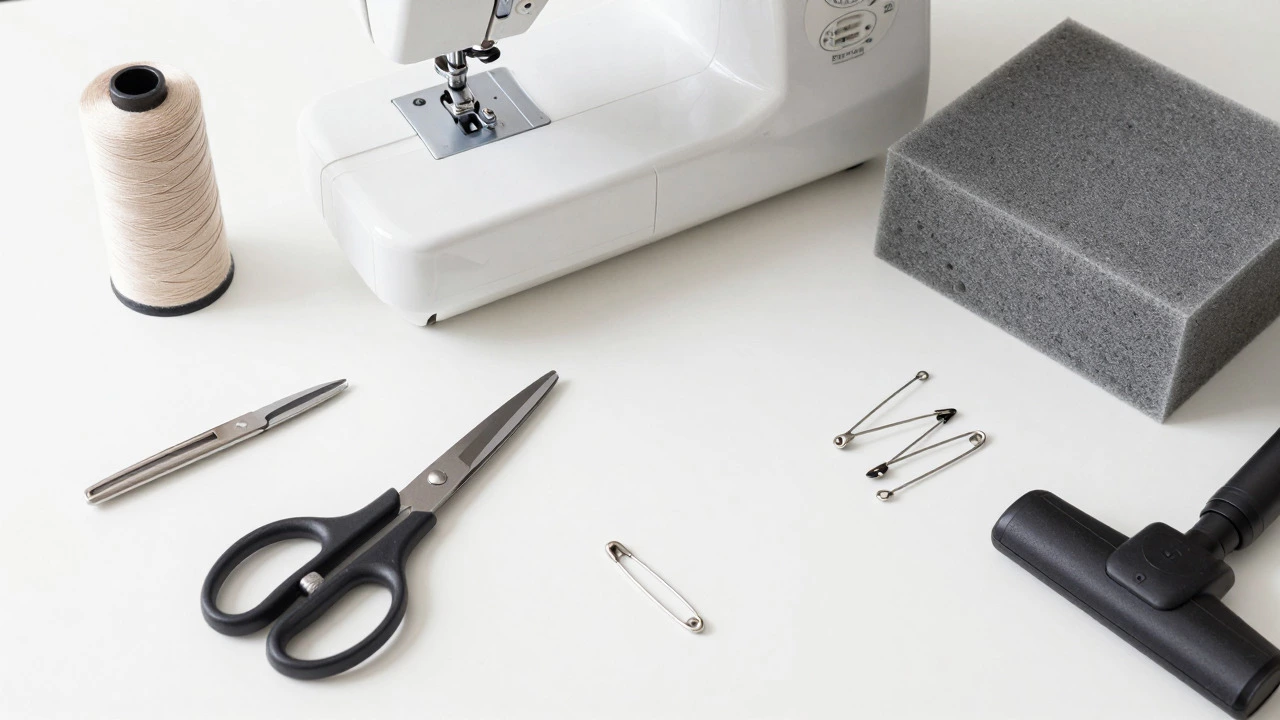
You do not need expensive equipment, but having the right supplies makes the process smoother. Here is a checklist of what should be ready before you start:
- A sturdy sewing machine capable of handling thick fabric layers.
- Polyester thread in a color that matches your upholstery (test on a scrap piece first).
- Fabric scissors and a seam ripper for opening existing seams carefully.
- New foam inserts if the old ones are crushed (look for high-resilience polyurethane foam).
- Safety pins to hold the fabric in place while you sew.
- A vacuum cleaner with an upholstery attachment for cleaning debris.
If you are replacing the foam, measure the original dimensions precisely. Standard couch cushions often range from 18 to 24 inches in width, but custom sizes vary. Buying foam that is slightly smaller than the cover allows room for expansion without stretching the fabric too thin.
Step-by-Step Repair Process
- Remove the cushion from the sofa. This gives you better access and prevents accidental damage to the rest of the furniture. Lay the cushion face-down on a large table or the floor.
- Inspect the interior. Look for tears in the inner lining. If the foam is exposed, check for cracks or compression. If the foam is still firm and holds its shape, you may only need to fix the outer cover. If it is flat or crumbly, plan to replace it.
- Open the cover. If there is a zipper, unzip it fully. If not, use a seam ripper to open one long side carefully. Be gentle; you want to keep the fabric usable.
- Remove the old foam. Pull out the damaged insert. Vacuum out any dust, crumbs, or debris from the fabric casing. This step is crucial for hygiene and preventing odors later.
- Insert the new foam. Place the fresh foam block into the center of the cover. Ensure it sits evenly so the corners align with the fabric edges. Use safety pins to secure the foam to the inner lining temporarily.
- Close the seam. Fold the raw edges inward by about half an inch. Pin them in place. Sew along the edge using a straight stitch. Keep the tension consistent to avoid puckering the fabric.
- Reattach to the sofa. Once the cushion is fully assembled and the thread is trimmed, place it back on the sofa. Check if it fits snugly against the adjacent cushions and the armrests.
Choosing the Right Foam Replacement
The quality of your repair depends heavily on the foam you choose. Cheap, low-density foam will compress within weeks, leaving you with the same problem. Instead, look for high-resilience (HR) foam with a density of at least 1.8 lbs per cubic foot. This type maintains its shape longer and provides better support.
Consider adding a layer of fiber wrap around the new foam. This batting helps distribute weight evenly and prevents the foam from shifting inside the cover. It also adds a softer feel, mimicking the original comfort of the cushion. If your sofa has a specific tilt mechanism or button tufting, ensure the new foam thickness matches the original depth to avoid interference with these features.

Common Mistakes to Avoid
Many people rush this process and end up with a cushion that looks worse than before. Here are pitfalls to watch out for:
- Using cotton thread. Cotton breaks easily under stress. Always use polyester or nylon thread for upholstery repairs.
- Tightening the seam too much. Over-tightening can pull the fabric and create visible wrinkles. Aim for a smooth, even line.
- Ignoring the inner lining. If the inner mesh is torn, the foam will eventually poke through. Patch or replace the lining if necessary.
- Skipping the cleaning step. Dust and allergens trapped inside will cause bad smells and skin irritation over time.
When to Call a Professional
While most separations are DIY-friendly, some situations warrant professional help. If the cushion is part of a high-end designer sofa with complex tufting or leather materials, a mistake could ruin the aesthetic value. Similarly, if the frame itself is broken or warped, fixing the cushion won't solve the underlying structural issue. In these cases, consult a local upholsterer who can assess the cost versus the value of the furniture.
| Factor | DIY Repair | Professional Service |
|---|---|---|
| Estimated Cost | $20 - $50 (materials) | $150 - $300+ (labor and parts) |
| Time Required | 2 - 4 hours | 1 - 2 weeks (turnaround) |
| Skill Level | Basic sewing knowledge | Expert craftsmanship |
| Best For | Simple seam tears, foam replacement | Complex designs, leather, structural damage |
Maintaining Your Repaired Cushion
Once your cushion is fixed, take steps to prevent future separation. Rotate the cushions every few months to ensure even wear. Clean spills immediately to prevent moisture from weakening the adhesive or stitching. If your sofa has removable covers, wash them according to the care label to remove oils and dirt that degrade fabric over time. Regular maintenance extends the life of your furniture significantly and keeps your living room looking fresh.
Can I use glue to fix a separated couch cushion?
Glue is generally not recommended for main seams because it can become brittle and break over time. It might work for small, non-stress areas, but sewing is more durable. If you must use adhesive, choose a flexible fabric glue designed for upholstery and test it on a hidden area first.
What kind of foam is best for couch cushions?
High-resilience (HR) polyurethane foam with a density of 1.8 lbs or higher is ideal. It offers good support and longevity. Memory foam can be used as a top layer for extra comfort but should not be the sole core material due to its tendency to sag under constant pressure.
How long does a couch cushion repair last?
A properly executed DIY repair with quality materials can last several years. The lifespan depends on usage frequency and how well you maintain the sofa. Replacing the foam with high-density material ensures the cushion stays plump for at least 3-5 years.
Do I need a sewing machine to fix a cushion?
A sewing machine is highly recommended for speed and strength, especially for thick fabrics. However, hand-sewing with a strong needle and thread is possible for smaller tears or lighter fabrics. Just expect it to take longer and require more effort.
What if the zipper is broken?
If the zipper is broken, you can either replace the entire zipper or cut it off and sew the seam closed permanently. Replacing a zipper requires matching the size and style, which can be tricky. Sewing it shut is a simpler, permanent solution if you don't mind losing easy access to the interior.