Dining Table Refinishing Decision Tool
Step 1: What is the table made of?
Check the underside or the edges for clues about the material.
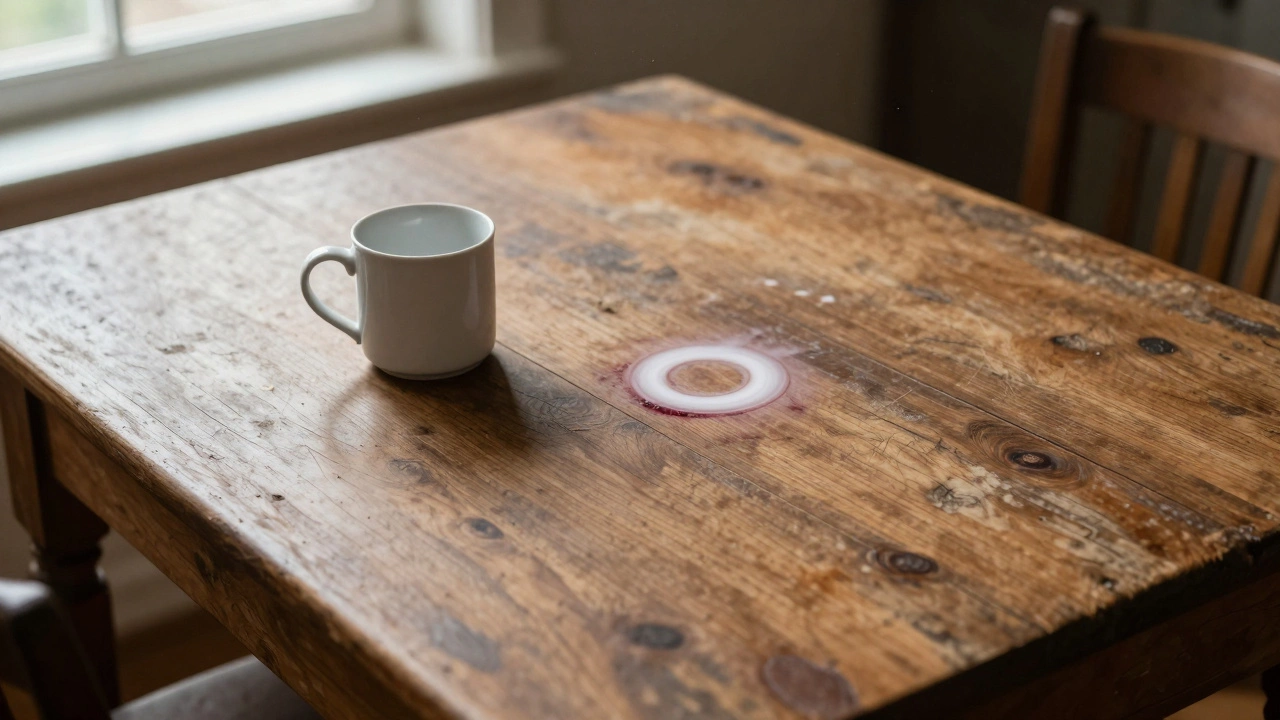
You’re staring at your dining table. Maybe it’s covered in white heat rings from coffee mugs, deep scratches from a toddler's toy cars, or that one mysterious stain from a spilled glass of red wine three years ago. You’ve probably wondered if you should just buy a new one from a big-box store or put in the elbow grease to save what you have. The truth is, the answer depends entirely on what the table is actually made of and how much you value the piece.
When we talk about refinishing dining room table surfaces, we are essentially talking about Wood Restoration, which is the process of removing old finishes and applying new protective layers to wood furniture to restore its aesthetic and structural integrity. It is a task that can either breathe new life into a family heirloom or become a frustrating waste of time if you're working with the wrong materials.
Quick Summary: Should You Do It?
- Yes, if: It's solid hardwood, has sentimental value, or is a high-quality vintage piece.
- No, if: It's made of particle board, MDF, or has a thick plastic laminate veneer.
- Maybe, if: You have the tools and a ventilated space, but no patience for drying times.
The 'Real Wood' Test: Knowing Your Materials
Before you buy a sander, you need to know what you're actually dealing with. If you try to sand through a thin veneer, you'll end up with a ruined table that looks like a patchy leopard print. Solid Wood is the gold standard here; it's wood all the way through, meaning you can sand it down several times without hitting a core of glue and sawdust.
Then there's Veneer, which is a thin slice of expensive wood glued onto a cheaper base. You can often refresh a veneer, but you have to be incredibly careful. One over-enthusiastic pass with a power sander and you've burned right through to the MDF (Medium-Density Fibreboard) underneath. Once that happens, there is no going back.
If your table is Particle Board-essentially compressed wood chips and glue-stop right there. Refinishing these is rarely worth it because the material swells when it gets wet and doesn't hold stain well. You're better off spending your weekend shopping for a replacement.
| Material | Effort Level | Outcome Potential | Verdict |
|---|---|---|---|
| Solid Oak/Walnut | High | Excellent | Definitely Worth It |
| Wood Veneer | Medium | Good | Proceed with Caution |
| MDF/Particle Board | Low | Poor | Not Worth It |
The Cost-Benefit Analysis: Money vs. Time
Let's be honest: your time has a price. To do a job right, you're looking at a minimum of 3 to 7 days. This includes the time for the wood to dry, the stain to set, and the topcoat to cure. If you hire a professional, you're paying for their expertise and industrial equipment, which can cost anywhere from $200 to $800 depending on the table size.
Compare that to the cost of a new table. You can get a decent-looking table from a mass-market retailer for $400. However, those tables are often made of engineered wood that won't last ten years. A solid oak table from the 1970s, once refinished, will likely outlast three modern versions. You're not just saving money; you're investing in longevity and sustainability.
Think about the "soul" of the piece. Does the table have a history? Did your grandmother use it for Sunday roasts? That kind of value doesn't show up on a receipt, but it makes the sanding process feel like a rescue mission rather than a chore.
The Step-by-Step Process: How to Actually Do It
If you've decided to go for it, don't just start rubbing sandpaper on the top. There is a logical order to this, or you'll end up with streaks and bubbles that make the table look worse than when you started.
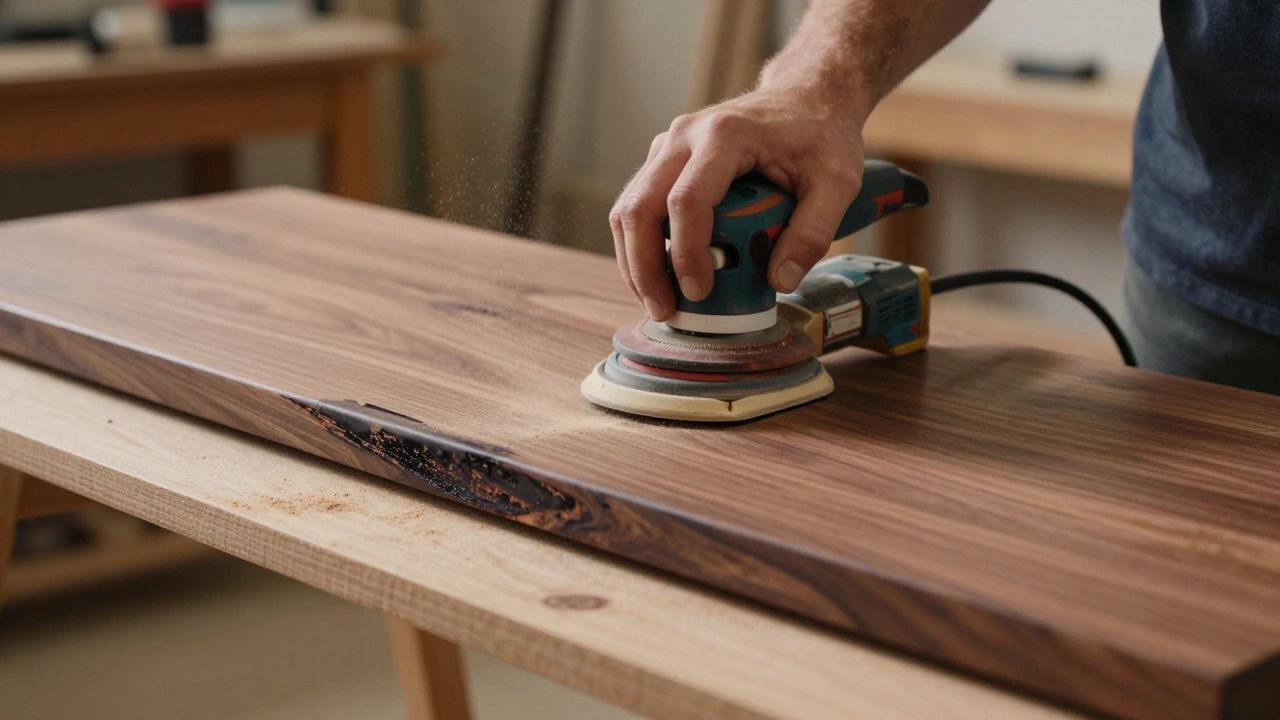
- Strip the Old Finish: Use a chemical stripper if the paint or varnish is thick. It's messy, but it saves you hours of sanding and prevents you from clogging your sandpaper instantly.
- Sanding (The Hard Part): Start with a coarse grit (around 80 or 100) to remove the remaining residue. Gradually move to medium (150) and then fine (220). Always sand with the grain of the wood. If you sand across the grain, you're creating permanent scratches.
- Cleaning: Vacuum everything and then wipe the surface with a tack cloth or a damp, lint-free rag. Even a tiny bit of sawdust left behind will create a bump in your final finish.
- Applying Stain: This is where you decide the color. Whether you want a light honey tone or a deep espresso, apply the stain evenly. Wipe away the excess quickly so the wood doesn't look blotchy.
- Sealing the Surface: This is the most critical step for a dining table. You need a durable topcoat. Polyurethane is the industry standard for dining tables because it creates a hard, plastic-like barrier that resists water and heat.
Common Pitfalls to Avoid
The biggest mistake beginners make is rushing the drying time. You might see that the polyurethane is dry to the touch after two hours, but it isn't "cured." If you put a heavy vase or a placemat on it too early, you'll get a permanent ring. Give it at least 24 hours between coats and a full week before you put it back into heavy service.
Another trap is using the wrong sandpaper. If you jump straight from 80-grit to 220-grit, you'll leave "swirl marks" from the coarse paper that only become visible once you apply the stain. The stain acts like a highlighter for your mistakes.
Lastly, watch out for the environment. High humidity can make finishes cloudy, and dust is the enemy of a smooth surface. If you can't move the table into a garage or a dedicated workshop, make sure you've cleaned the room thoroughly and turned off any overhead fans that might blow dust onto your wet finish.

Alternatives to a Full Refinish
If a full strip-and-sand feels too daunting, you have other options. If the wood is just looking dull, you can try a "refresh" or a "screen and coat." This involves lightly sanding the surface with a very fine grit and applying a fresh layer of clear sealant without changing the color.
For those who want a completely different look without the sanding nightmare, consider Chalk Paint. It requires very little surface preparation and adheres to almost anything. However, keep in mind that chalk paint is porous. To make it work for a dining table, you must seal it with a high-quality wax or polyurethane, otherwise, your first spilled drink will leave a permanent mark.
How long does it actually take to refinish a table?
For a standard six-person dining table, expect the process to take about a week. While the actual labor-sanding and staining-might only take 10 to 15 hours, the waiting periods for the stain and multiple coats of polyurethane are where most of the time goes. Rushing this part usually results in a sticky or peeling finish.
Will sanding remove the value of an antique table?
Yes, it can. If you have a genuine antique with an original patina, sanding it down can significantly drop its market value. For high-end antiques, it is better to hire a professional conservator who can clean and polish the existing finish rather than stripping it entirely.
What is the best finish for a table that kids use?
Oil-based polyurethane is generally the best choice for high-traffic family tables because it is the most durable and water-resistant. If you prefer a water-based option for lower fumes, look for "polycrylic" or high-performance water-borne finishes, but be aware they may be slightly less heat-resistant than oil-based versions.
Can I refinish a table if it has a laminate top?
Not in the traditional sense. You cannot sand or stain laminate because it's essentially plastic. Your only real option is to use a specialized primer and a high-quality enamel paint, though even then, the paint is prone to chipping over time. In most cases, it's not worth the effort.
How do I get rid of white heat rings without full refinishing?
For mild white rings, you can sometimes remove them by rubbing a bit of mayonnaise or a mixture of toothpaste and baking soda into the spot. For deeper marks, a specialized "finish restorer" liquid from a hardware store can often blend the mark back into the rest of the table without needing to sand the whole piece.
Next Steps: Your Decision Tree
If you're still on the fence, ask yourself these three questions: Is it solid wood? Do I have a place to let it dry for a week? Do I actually like the shape of the table? If the answer to all three is "yes," grab your sandpaper and get started. If you're working with a cheap, flat-packed table from a big retailer, your time is better spent browsing for a new piece that fits your current style.