Photo-to-Art Print Size Calculator
Photo Input
Art Medium Selection
Select the material that best suits your project:
Canvas
Classic gallery look, best for painterly styles
$30-$70/sq ftAcrylic
Modern, glossy finish for vibrant colors
$50+/sq ftMetal
High-contrast, durable finish
$50+/sq ftPoster
Budget-friendly, easy to swap
$10-$30/sq ftPrint Quality Assessment
Required Resolution
Calculate needed resolution for your print size
Your Photo Resolution
Your photo's current resolution
Aspect Ratio Comparison
Current ratio vs. desired ratio
Quality Rating
Recommended Adjustments
Material Recommendations
Key Takeaways
- Choose a method that matches your skill level and budget - manual editing, AI generators, or mobile apps.
- Start with a high‑resolution image and keep the aspect ratio consistent with your final print size.
- Apply artistic styles using filters, neural‑style transfer, or custom brushes, then fine‑tune colors and contrast.
- Select the right printing material - canvas, metal, acrylic - and add framing for a polished look.
- Follow a quick checklist to avoid common pitfalls like pixelation or color shift.
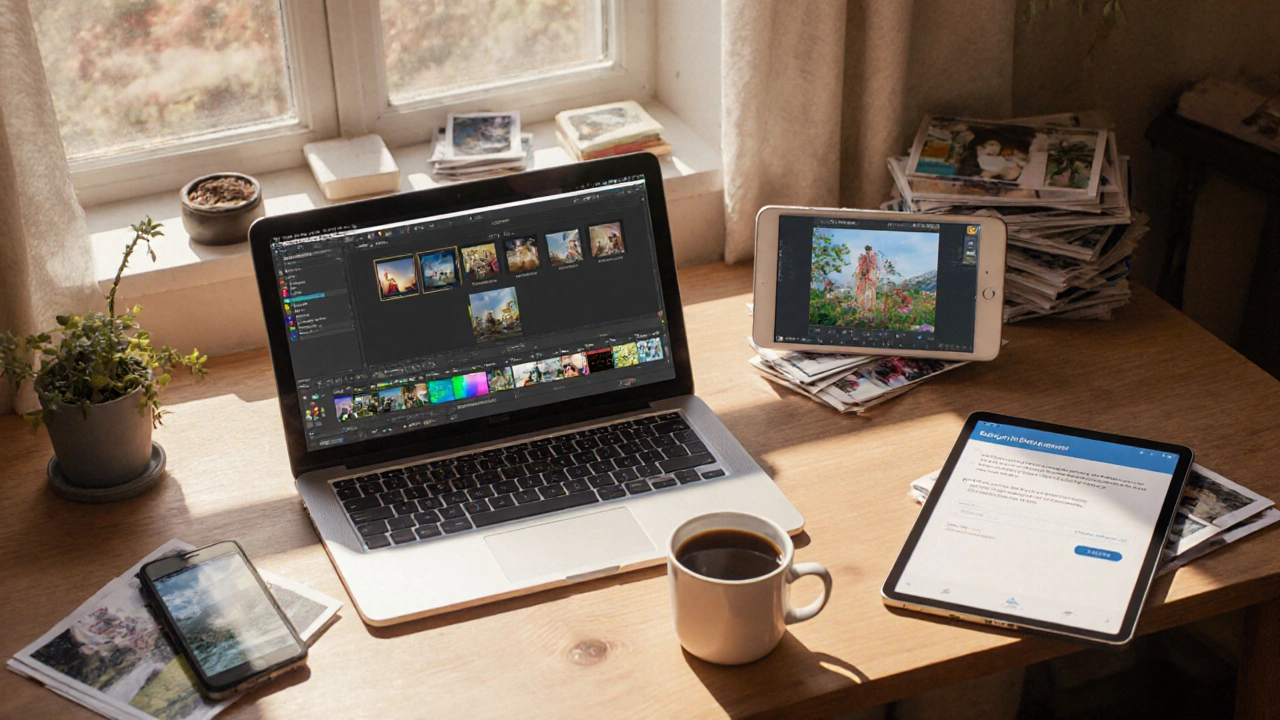
When you turn a photo into art transform a regular picture into a stylized piece that can grace any wall, you’re mixing photography with visual creativity. Whether you want a bold pop‑art portrait for the living room or a subtle watercolor‑style landscape for the hallway, the process is easier than you think. Below is a hands‑on guide that walks you through every decision point, from picking a tool to hanging the final piece.
Pick a Creation Method
The first fork in the road is deciding how you’ll add artistic flair. Three popular paths cover most needs:
- Traditional editing software desktop programs like Adobe Photoshop or Affinity Photo that give you pixel‑level control
- AI‑powered generators online tools such as Midjourney, DALL·E or Stable Diffusion that apply neural‑style transfer in seconds
- Mobile art apps apps like Prisma, PicsArt, or Painnt that let you edit on the go
Each option balances ease of use, cost, and depth of customization. If you love fine‑tuning every brushstroke, go with traditional software. If you want a quick, experiment‑friendly result, AI generators win. For casual creators who edit from a phone, mobile apps are the sweet spot.
Get Your Photo Ready
Before any artistic magic happens, the source image must be solid. Follow these quick checks:
- Resolution: Aim for at least 300dpi at the final print size. A 12MP photo (4000×3000px) comfortably covers a 20×30in canvas.
- Aspect ratio: Keep the ratio consistent with your intended frame or print. Cropping to 4:3, 1:1, or 16:9 early prevents unwanted stretching later.
- Color profile: Use sRGB for most online tools; switch to AdobeRGB if you plan to edit in Photoshop and need a wider gamut.
- Clean up: Remove dust spots, red‑eye, or distracting background elements with a cloning tool or a quick AI cleanup feature.
Considering these factors now saves you from blurry or off‑color prints down the line.
Apply Artistic Styles
Now the fun part begins - adding the visual language that turns a snapshot into art. Below are three ways to do it:
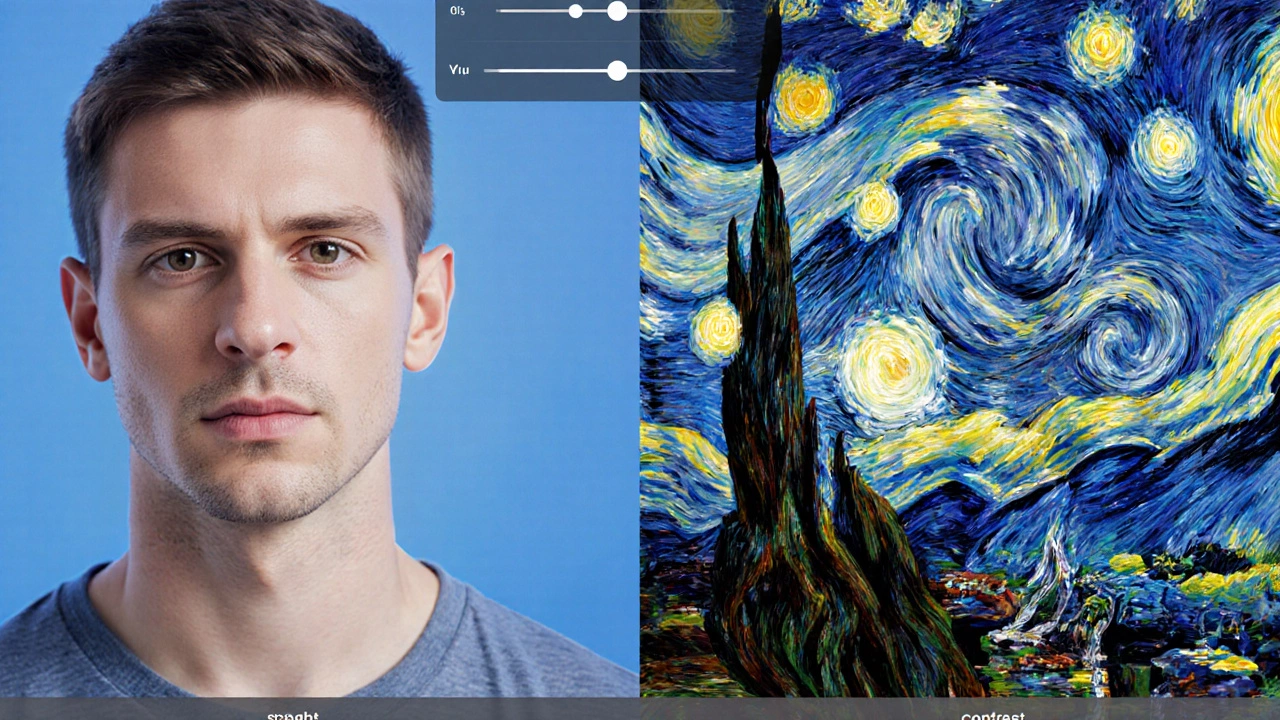
- Filter libraries: Most software ships with preset filters (oil paint, watercolor, charcoal). Adjust intensity to avoid a cartoonish look.
- Neural‑style transfer: AI generators let you feed a style image (e.g., VanGogh’s "Starry Night") and apply its brushwork to your photo. Tweaking the “strength” slider keeps the subject recognizable.
- Custom brush work: In Photoshop, load brush packs that mimic traditional media. Paint over key areas to emphasize lighting or add texture.
Whichever route you choose, keep an eye on contrast and saturation. A common pitfall is over‑saturation, which looks great on a screen but washes out on fabric or metal prints.
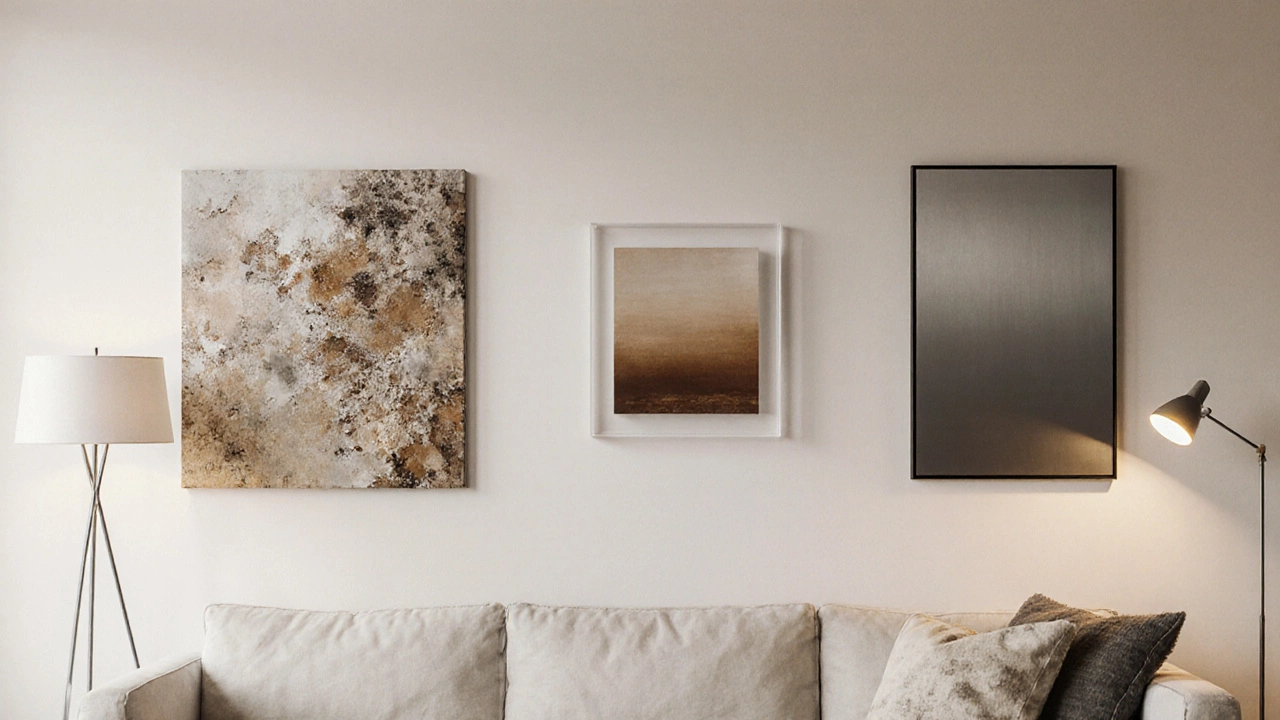
Turn Digital Art into Wall Art
Once you’re happy with the digital version, decide how it will live on your wall. The main choices are:
- Canvas print cotton or polyester fabric stretched over a wooden frame, ideal for a gallery‑style feel
- Acrylic block image printed on a thin acrylic sheet and mounted on a metal backing for a sleek, modern look
- Metal print photo dye‑sublimated onto aluminum, perfect for high‑contrast, vibrant colors
- Framed poster traditional paper print with a wooden or metal frame, budget‑friendly and easy to swap
Ask yourself three questions before ordering:
- Will the material enhance the style (e.g., canvas for a painterly effect)?
- Does the room’s lighting favor glossy (acrylic) or matte (canvas) finishes?
- What’s the budget? Canvas runs $30-$70 per square foot, while metal starts around $50.
Most reputable print services (Shutterfly, Society6, local print shops) let you preview a mock‑up before you commit.
Step‑by‑Step Checklist
- Select a creation method that matches your skill and budget.
- Import a high‑resolution photo and set the correct aspect ratio.
- Clean up the image - remove blemishes, adjust exposure.
- Apply an artistic style using filters, AI, or custom brushes.
- Fine‑tune colors, contrast, and saturation for print fidelity.
- Choose a printing material and size based on your wall space.
- Order a test sample if possible; adjust the digital file if colors shift.
- Hang the finished piece using appropriate hardware (picture hooks, French cleat, or stand).
Follow this list and you’ll avoid the most common missteps - blurry prints, mismatched frames, and wasted money.
Method Comparison
| Method | Ease of Use | Cost | Customization | Typical Output Quality |
|---|---|---|---|---|
| Traditional Editing | Medium - needs learning curve | Subscription $20‑$50/month | High - pixel‑level control | Professional‑grade, print‑ready |
| AI Generators | Easy - just type a prompt | Free tier or $10‑$30 credits | Medium - style limited to model | Excellent for bold, stylized looks |
| Mobile Apps | Very easy - touch interface | Free with ads or $5‑$15 premium | Low‑Medium - preset filters | Good for quick decor pieces |
Pick the row that best matches your current situation, then move on to the next sections for fine‑tuning.
Frequently Asked Questions
Can I use any photo, or does it need to be high‑resolution?
Higher resolution ensures sharp prints, especially for larger formats. Aim for at least 300dpi at the final size; otherwise you may see pixelation.
Do AI generators own the copyright of the artwork?
Most services grant you commercial rights to the generated image, but you should read the specific terms. When in doubt, choose a platform that explicitly states you retain full ownership.
What’s the best material for a living‑room centerpiece?
Canvas gives a classic, textured feel and works well with warm lighting. If your room leans modern, an acrylic block adds depth and a glossy finish.
Do I need to calibrate my monitor before editing?
Calibrating to a neutral color temperature (around 6500K) helps ensure the colors you see on screen match the final print.
How do I avoid color shifts after printing?
Convert the file to the printer’s color profile (usually sRGB for online services) and preview a soft‑proof if the service offers one.
Now you have the full roadmap to turn a photo into art that looks great on any wall. Grab your favorite picture, pick a tool, and watch it transform into a piece that feels uniquely yours.