Flooring Selection Calculator
Find Your Perfect DIY Flooring
Answer a few questions to discover which flooring option is easiest for you to install
Your Recommended Flooring Options
Pro Tip: Always measure twice and prepare the surface properly for best results. Don't forget to buy 10% extra flooring!
Trying to redo your floor but don’t want to spend a weekend tearing up old planks or renting heavy tools? You’re not alone. Millions of homeowners in Australia and beyond are choosing flooring they can install themselves-no professional help needed. The good news? The easiest flooring to put down today isn’t just simple-it’s durable, affordable, and looks way better than you’d expect.
Peel-and-Stick Vinyl Tiles
These are hands-down the #1 choice for beginners. They come in sheets or individual tiles with a sticky backing you just peel off and press down. No glue, no nails, no special tools. You can start in a corner, line up the first tile with a chalk line, and go from there. Even if you mess up, you can lift it and reposition it before it fully bonds. Brands like Coretec is a rigid core vinyl tile brand known for water resistance and easy click-lock installation. Also known as Coretec Plus, it was first released in 2015 and has since become a favorite among DIYers for its realistic wood look and durability. and Shaw Floorté is a peel-and-stick vinyl tile product line designed for quick installation over existing floors. Also known as Shaw Vinyl Tile, it was first introduced in 2018 and is widely available in hardware stores across Australia. are popular here in Melbourne because they handle humidity well and don’t require acclimation.
You can install these over concrete, tile, or even old linoleum-as long as the surface is clean and level. No need to remove your existing floor. That’s a huge time-saver. A 10x10 room? You could finish it in a single afternoon. Just make sure to sweep thoroughly, wipe with a damp cloth, and let it dry before laying. These tiles also resist scratches from pets and kids, which makes them perfect for kitchens and hallways.
Luxury Vinyl Plank (LVP) with Click-Lock System
If you want something that looks like real hardwood but installs like Lego, LVP is your answer. Unlike older glue-down vinyl, modern LVP uses a click-lock system. Each plank has a tongue and groove that snaps together without nails or glue. You just lay the first row, then tap the next one into place with a tapping block and rubber mallet. No power tools needed.
Some brands, like Coretec is a rigid core vinyl tile brand known for water resistance and easy click-lock installation. Also known as Coretec Plus, it was first released in 2015 and has since become a favorite among DIYers for its realistic wood look and durability. and Armstrong Vivero is a luxury vinyl plank product line featuring a rigid core and waterproof construction. Also known as Armstrong Vivero LVP, it was launched in 2020 and is known for its scratch-resistant surface and realistic wood textures., include pre-attached underlayment. That means you skip the foam padding step entirely. You can install these over almost any flat surface-even slightly uneven concrete-as long as it’s not warped or cracked.
One pro tip: leave a 1/4-inch gap around the edges for expansion. This isn’t optional. If you ignore it, your floor might buckle in summer heat. But once you get that right, the rest is just sliding pieces together. A typical 200-square-foot room takes about 4-6 hours to finish. No wonder LVP is now the top-selling flooring in Australia.
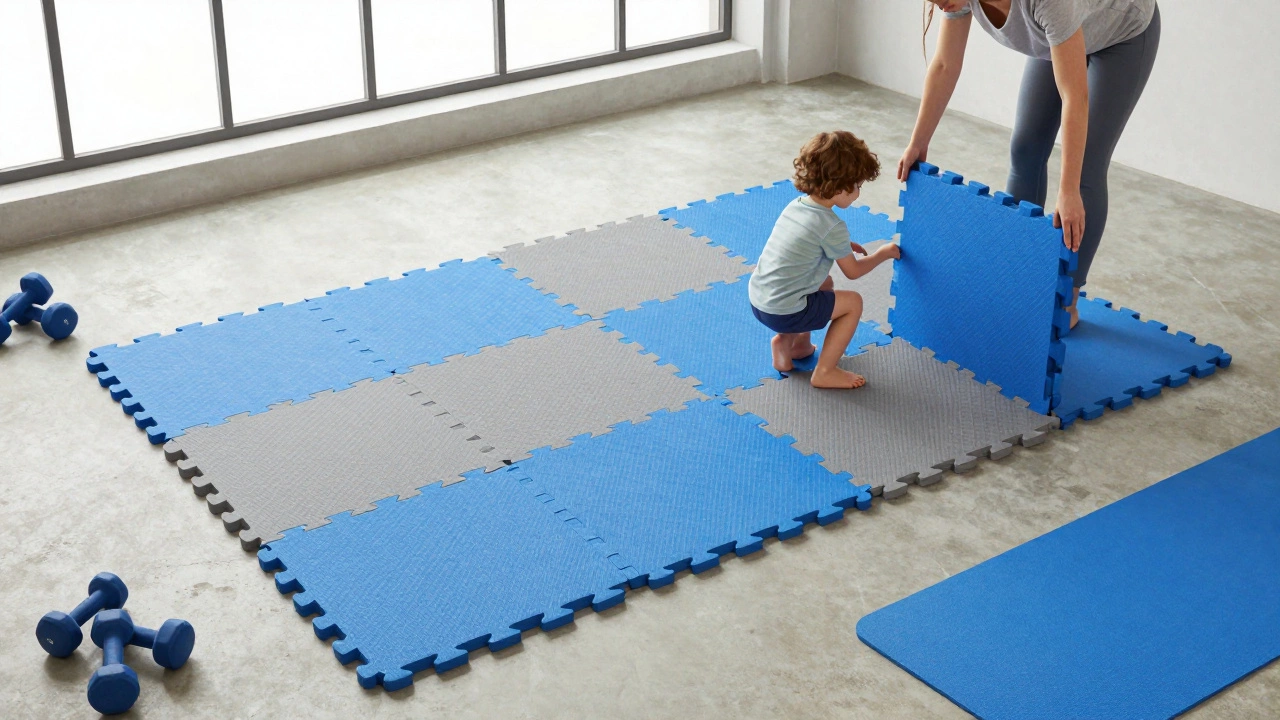
Interlocking Foam Tiles
Not for every room-but if you’re looking for a soft, cushioned floor for a playroom, home gym, or basement rec area, foam tiles are unbeatable. These are the same tiles used in kids’ play centers and fitness studios. They snap together like puzzle pieces and come in different thicknesses (1/2 inch to 1 inch). You can even mix colors to make fun patterns.
They’re lightweight, so you can carry them upstairs without help. No adhesive, no cutting, no saws. Just unbox, lay, and connect. They’re also easy to clean-just vacuum or wipe with a damp cloth. The downside? They’re not waterproof long-term, and they can show wear if heavy furniture sits on them for years. But for temporary spaces or areas where comfort matters more than luxury, they’re perfect.
Modular Carpet Tiles
Think of carpet tiles as the grown-up version of the carpet squares you had in your childhood playroom. Each tile is 18x18 inches, and they snap together with a locking edge. Brands like Interface is a commercial carpet tile manufacturer known for sustainable materials and modular design. Also known as Interface Modular Carpet, it was founded in 1973 and pioneered the carpet tile concept now used globally. offer tiles with built-in adhesive backing or mechanical locks. You can lay them over concrete, wood, or even existing carpet (if it’s flat).
Why choose these? If one tile gets stained or worn out, you just pull it up and replace it. No need to redo the whole room. They’re also great for soundproofing and keeping feet warm. Great for home offices, nurseries, or basements. Installation takes about the same time as vinyl-maybe a bit longer if you’re laying them in a pattern. But the flexibility and repairability make them worth considering.
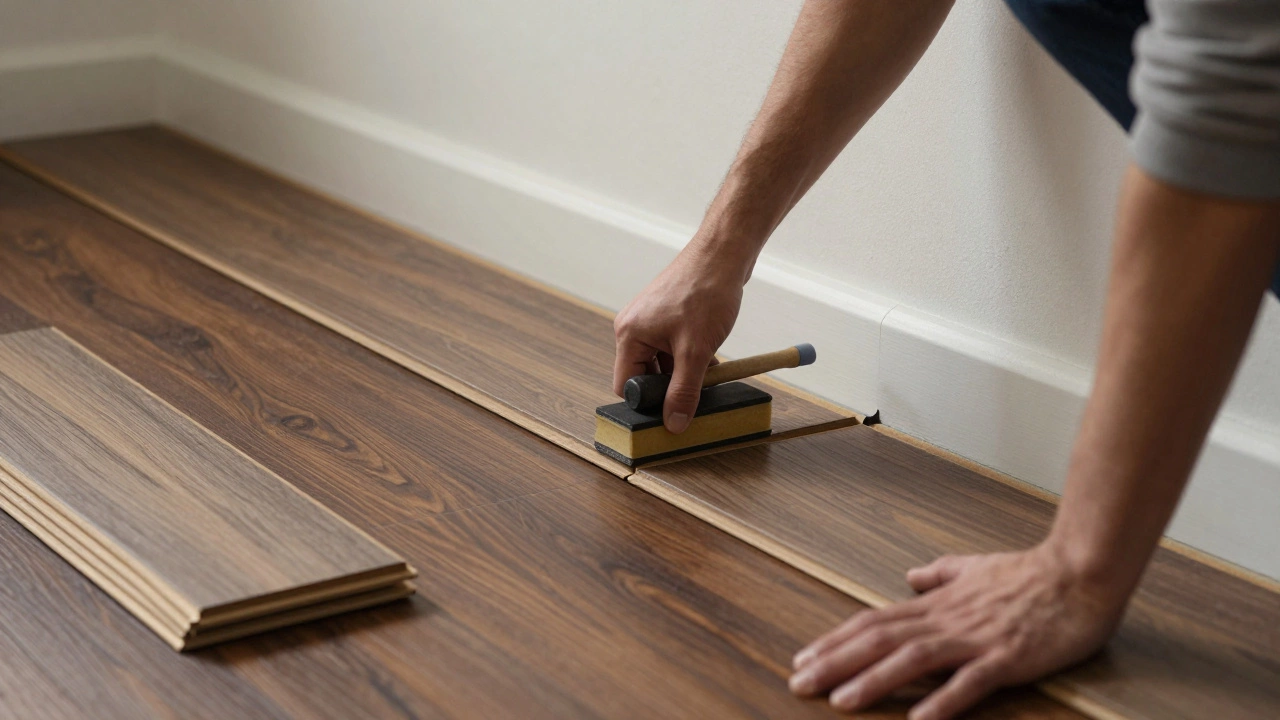
Engineered Wood with Floating Installation
Yes, wood can be easy too. Engineered wood planks are made of a real wood veneer on top of a stable core layer (usually plywood or HDF). Unlike solid hardwood, which needs to be nailed or glued down, engineered wood can be floated. That means it’s not attached to the subfloor-it just locks together with a click system.
Brands like Quick-Step is a Belgian-engineered wood flooring brand known for its click-lock system and water-resistant options. Also known as Quick-Step Laminate, it was first introduced in 1992 and is widely distributed in Australia through major retailers. and Bruce is a North American engineered wood flooring brand offering pre-finished planks with easy installation. Also known as Bruce Engineered Wood, it was founded in 1870 and remains a trusted name in North American and Australian markets. make planks that click together tightly and don’t require glue. You still need to leave expansion gaps, and you’ll need a tapping block to avoid chipping the edges. But if you’ve ever assembled IKEA furniture, you’ve got the skills. This option gives you the warmth of real wood without the hassle of traditional installation.
What to Avoid
Not all flooring is beginner-friendly. Skip these if you’re doing it yourself:
- Hardwood (solid): Requires nailing or gluing to a subfloor. Needs a pneumatic nailer, which is expensive to rent and hard to control.
- Ceramic tile: Needs a level surface, precise cutting with a wet saw, grouting, and sealing. Even pros find it tricky.
- Laminate with glue-down options: Some cheaper laminates still require adhesive. Stick to click-lock only.
- Concrete staining: Requires sanding, sealing, and multiple coats. Not DIY unless you’ve done it before.
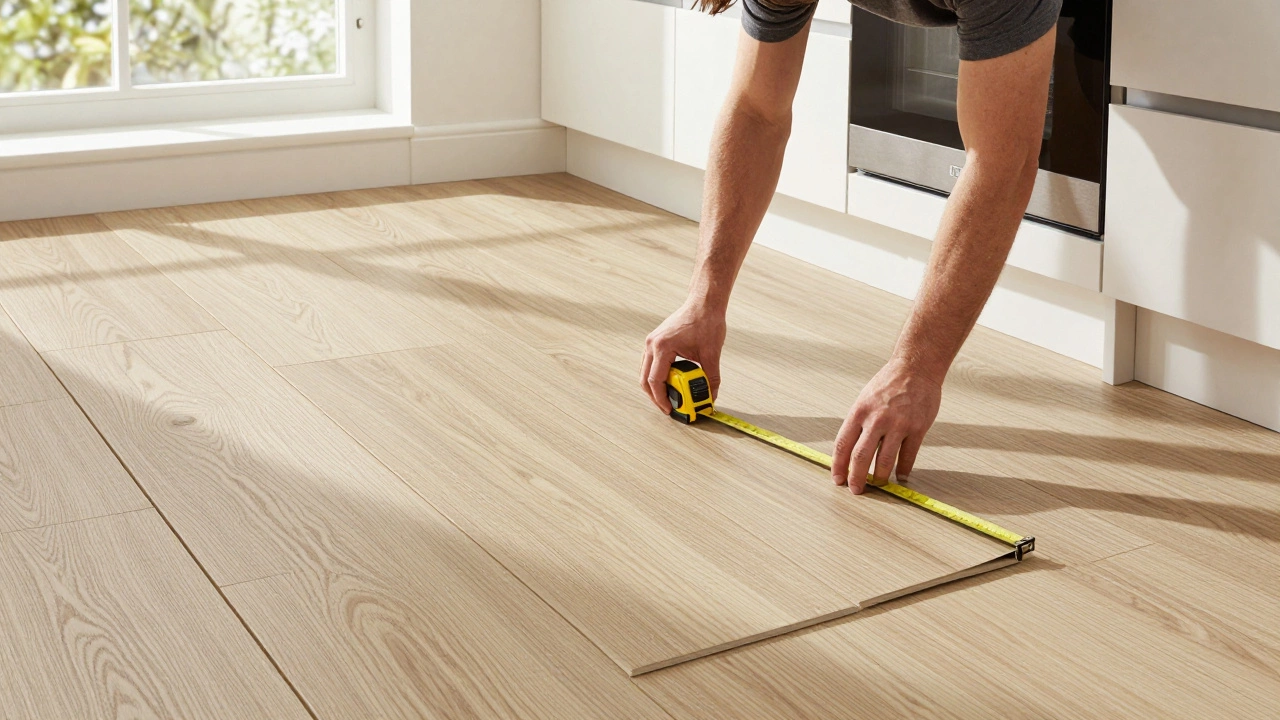
Real-World Tip: Prep Is Everything
No matter which flooring you pick, the secret to success is preparation. Sweep twice. Wipe with a damp mop. Let it dry overnight. Check for dips or humps with a 4-foot level. If the floor is uneven by more than 3mm over a meter, use a self-leveling compound. Skipping this step leads to gaps, creaks, or tiles lifting later.
Also, buy 10% extra. Always. You’ll need it for cuts, mistakes, and future replacements. Most stores let you return unopened boxes if you keep the receipt.
Which One Should You Choose?
Here’s a quick guide:
| Option | Installation Time | Tools Needed | Waterproof? | Best For |
|---|---|---|---|---|
| Peel-and-Stick Vinyl Tiles | 1-4 hours | Measuring tape, utility knife | Yes | Kitchens, bathrooms, entryways |
| Luxury Vinyl Plank (LVP) | 4-8 hours | Tapping block, rubber mallet | Yes | Living rooms, bedrooms, basements |
| Interlocking Foam Tiles | 2-5 hours | None | No | Playrooms, gyms, home offices |
| Modular Carpet Tiles | 4-7 hours | Measuring tape | Partially | Nurseries, basements, sound-sensitive areas |
| Engineered Wood (Click-Lock) | 6-10 hours | Tapping block, pull bar | Mostly | Living rooms, hallways, bedrooms |
If you want the absolute easiest, go with peel-and-stick tiles. If you want durability and style, go with LVP. If you’re on a budget and need softness, foam tiles win. Carpet tiles are ideal if you want to replace one section later. Engineered wood gives you luxury without the hassle.
Final Thought
The easiest flooring to put down isn’t about being cheap-it’s about being smart. Modern materials have made it possible to get professional-looking results without hiring anyone. You don’t need to be a carpenter. You just need to be patient, measure twice, and clean the floor before you start. The satisfaction of walking into a room you completely remodeled yourself? That’s priceless.
Can I install new flooring over existing flooring?
Yes, most modern flooring options like peel-and-stick vinyl, LVP, and modular carpet tiles can be installed over existing floors-provided the surface is flat, clean, and secure. You can lay them over tile, linoleum, or even concrete. But never install over damaged, uneven, or loose flooring. If your old floor is buckling or has deep grooves, remove it or level it first.
Do I need to remove baseboards before installing flooring?
You don’t have to remove them, but it’s recommended. Removing baseboards lets you install the flooring right up to the wall, giving a cleaner finish. If you leave them on, you’ll need to leave a larger expansion gap (usually 1/2 inch), which might look messy. You can reinstall them afterward, or use quarter-round trim to cover the gap.
How long does it take to install flooring in a typical room?
For a 10x10 room (100 sq ft), most DIYers can finish in under 6 hours. Peel-and-stick tiles take as little as 2 hours. LVP or engineered wood may take 4-8 hours depending on your experience. Foam tiles and carpet tiles are usually faster. The key is preparation-cleaning and measuring take longer than laying the floor.
Is it okay to install flooring in a bathroom?
Yes, but only if the flooring is 100% waterproof. Peel-and-stick vinyl tiles and LVP with waterproof cores are safe for bathrooms. Avoid foam tiles or carpet tiles-they absorb moisture and can lead to mold. Always seal the edges around the tub or shower base with silicone caulk, even if the flooring is labeled waterproof.
Can I install flooring on stairs?
It’s possible, but not recommended for beginners. Stairs require precise cutting, securing with adhesive or nails, and adding non-slip strips. Most peel-and-stick and click-lock systems aren’t designed for vertical surfaces. If you’re set on doing stairs, stick with rigid LVP planks and use stair nosing pieces sold by the manufacturer. Otherwise, hire a pro.