DIY Wall Art: Simple Projects to Freshen Up Your Space
Looking to give a room a fresh vibe without spending a fortune? DIY wall art is the shortcut most people overlook. You don’t need a large budget or a professional studio – just a little imagination, a few everyday supplies, and the willingness to get hands‑on.
Getting Started: Materials & Planning
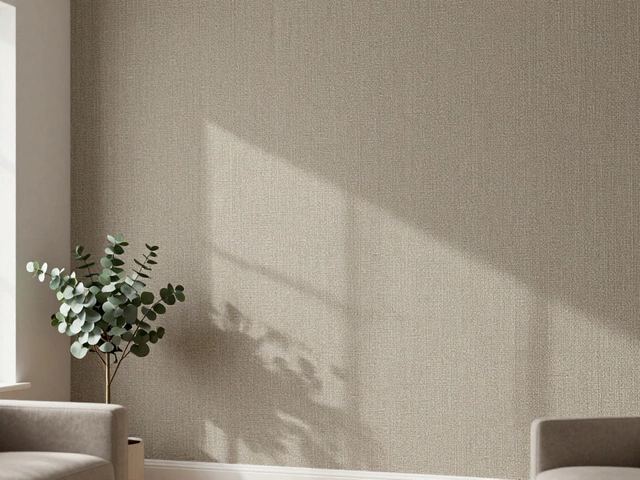
First, pick the wall you want to treat. A focal wall behind a sofa, a hallway, or the space above a bed works best because it draws the eye. Measure the area so you know how big your piece can be. Next, gather basic tools: a ruler or tape measure, a level, picture‑hanging hooks, and some adhesive (command strips work well on plaster). As for supplies, think canvas or sturdy cardboard, paints, fabric scraps, old frames, washi tape, and any decorative objects you already own – picture frames, wooden pallets, even leftover tiles.
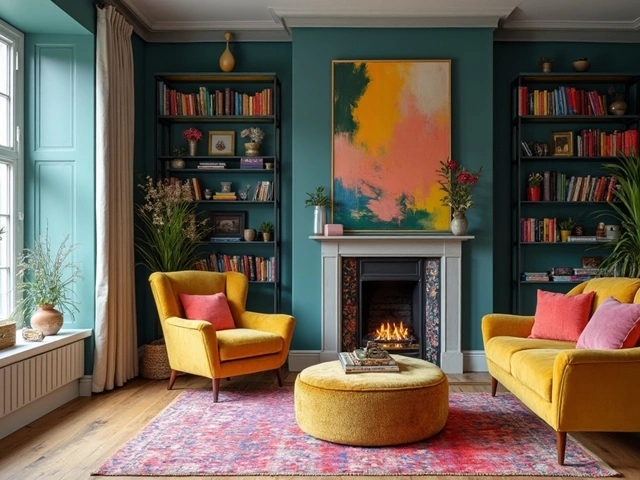
Plan your colour palette early. Neutral tones blend easily, while a single bold accent can become the room’s statement. Sketch a quick layout on paper or use a phone app to visualise how pieces will sit together. This step saves you from re‑hanging or repainting later.
5 Easy DIY Wall Art Projects
1. Abstract Canvas Paintings – Grab a blank canvas, tape off sections with painter’s tape, then splash or roll on acrylic paints. When the tape comes off, you’ve got clean lines and a modern look. No need for perfect brushwork; the fun is in the randomness.
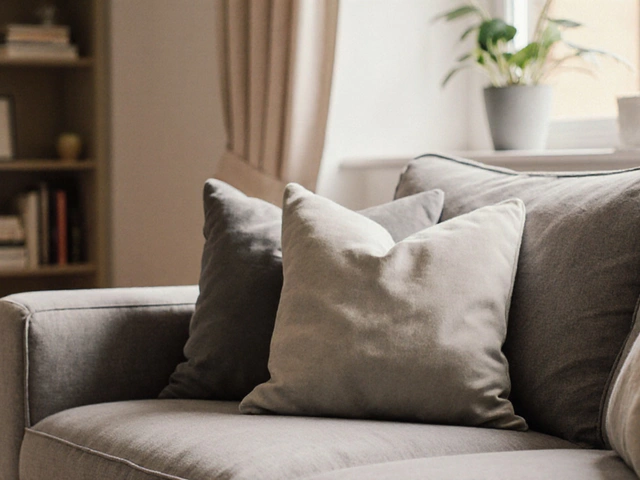
2. Framed Fabric Panels – Cut a piece of patterned fabric to fit inside an old frame. Stretch it tight, secure the back, and you’ve created a soft, textured piece that adds colour without the glare of glass.
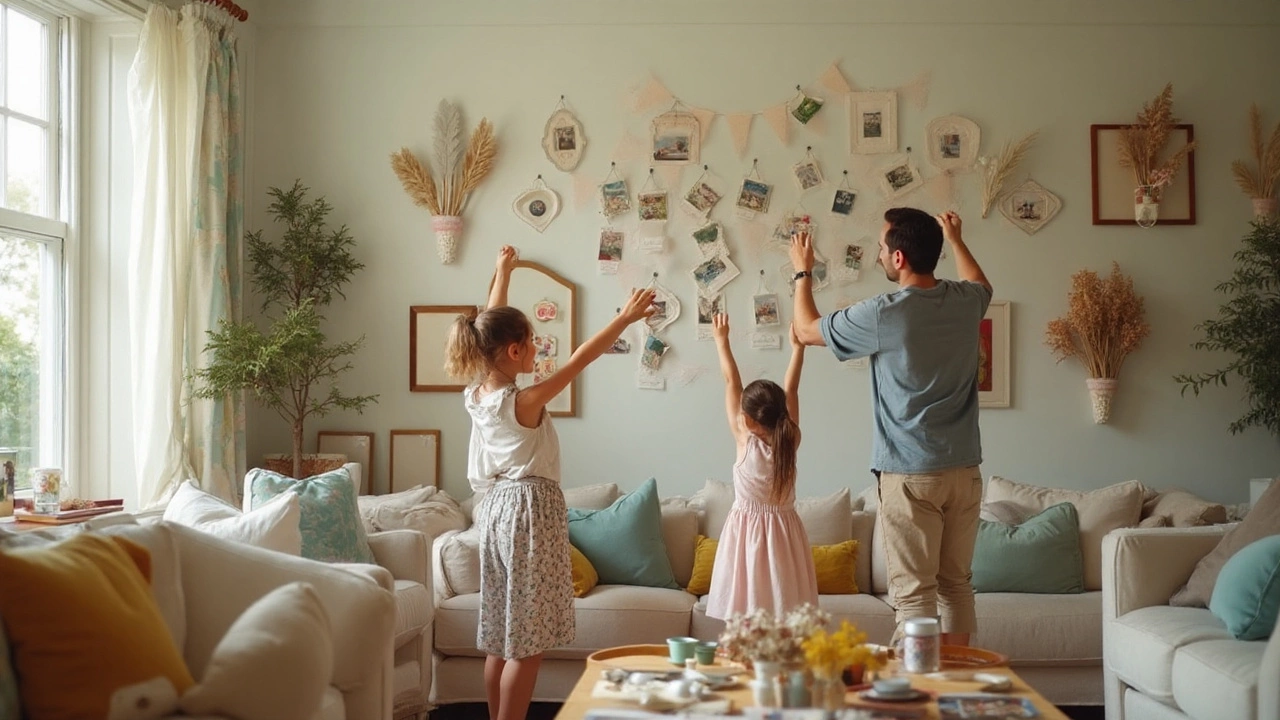
3. Photo Collage Grid – Print out personal photos in the same size, arrange them in a grid, and mount them on a large board. Use thin spacers or washi tape between each picture for a clean, gallery‑style finish.
4. Pallet Wood Art – Sand a small wooden pallet, stain or paint it, then attach objects like mason jars, small plants, or decorative letters. Hang it horizontally for a rustic shelf that doubles as wall decor.
5. Geometric Tape Designs – Measure and apply painter’s tape in triangles, diamonds, or chevrons. Paint over the whole wall in a bold colour, let it dry, then peel the tape for crisp geometric patterns. This works especially well on a single accent wall.
After you finish, hang the pieces using a level to keep everything straight. If you’re nervous about nail holes, try adhesive hooks – they hold most lightweight pieces and leave walls untouched.
Mix and match ideas: a canvas painting next to a framed fabric panel creates depth, while a pallet shelf adds functional storage. The key is balance – don’t overload a wall with too many competing styles. Step back, adjust spacing, and you’ll see the scene come together.
DIY wall art isn’t just about decoration; it’s a chance to showcase your personality. Whether you’re into bold colour bursts or subtle texture, these projects let you customize any room in an afternoon. Grab your supplies, set a timer, and watch a blank wall turn into a personal gallery.
Feel inspired? Pick one project, get the basics together, and start creating. Your walls will thank you, and you’ll have a story to share every time a guest asks, “Did you make that?”