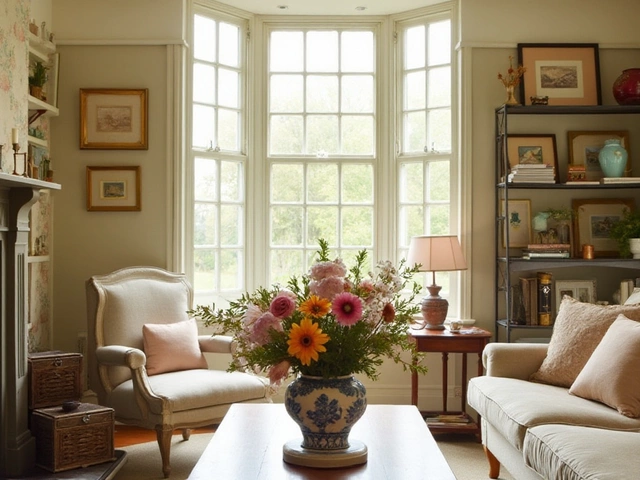
Picture Hanging Made Simple: Tips for Every Home
If you’ve ever stared at a blank wall and wondered how to get that photo or artwork to stay straight, you’re not alone. Hanging pictures doesn’t have to be a chore or require a handyman. With a few basic tools and a clear plan, you can dress up any room in minutes.
Tools You Really Need
Before you start, gather these items. A tape measure helps you find the right height. A pencil marks the spot – don’t worry, the line is easy to erase. A level makes sure the frame isn’t crooked. Finally, pick a hanging device that matches your wall type: picture hooks for drywall, adhesive strips for light pieces, or toggle bolts for heavy frames.
Most hardware stores sell small plastic hooks for under‑10 pounds. If you’re hanging a heavy mirror or a large canvas, choose a metal hook rated for the weight. When you use adhesive strips, read the weight limit and press firmly for at least 30 seconds.
Step‑by‑Step Hanging Guide
1. Choose the height. A comfortable viewing level is usually eye‑level, about 57‑60 inches from the floor. For a gallery wall, keep the center of the entire arrangement at that height.
2. Mark the spot. Measure the distance from the floor to your chosen height and make a small pencil mark. If the frame has a hanging wire, pull the wire up and measure the distance from the top of the frame to the wire. Add that distance to your wall mark.
3. Find the stud (optional). For heavy pieces, use a stud finder to locate a wood stud behind the drywall. Anchoring into a stud gives extra security. If you can’t find a stud, use a wall anchor that expands behind the drywall.
4. Install the hook. Hold the hook at the pencil mark, hammer it in (or screw it in) until the tip is flush with the wall. For adhesive strips, peel the backing, press the strip to the wall, then attach the frame.
5. Hang the picture. Slide the frame onto the hook or press the hanging hardware onto the adhesive. Step back, use the level, and make tiny adjustments until it looks straight.
6. Secure and enjoy. For extra safety, especially in homes with kids or pets, add a small safety strap or picture wire that attaches to two hooks.
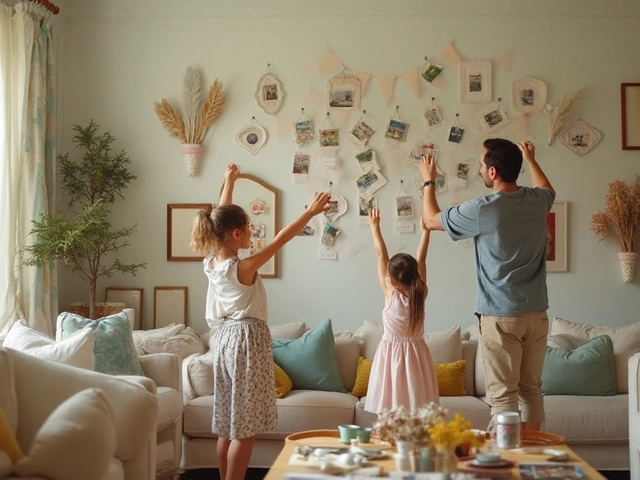
Pro tip: If you’re creating a gallery wall, lay out all frames on the floor first. Play with spacing – 2‑3 inches between pieces works well. Snap a photo of the layout, then transfer the measurements to the wall.
Another quick win is to use a laser level. It projects a straight line across the wall, so you can line up multiple frames without guessing.
Now you have a wall that feels finished, personal, and stylish. Whether you’re adding a single family photo or a whole collection of art, the process stays the same: measure, mark, hook, and step back. With these simple steps, you’ll avoid crooked frames and wobbly hooks, and you’ll feel confident tackling the next project.
Ready to try it out? Grab a pencil, pick a spot, and watch your blank wall turn into a gallery you love. Happy hanging!