Art Arrangement Made Easy: Simple Steps to Style Your Walls
Got a blank wall and a stack of prints, photos, or canvases? You don’t need to be a designer to make it look good. A few smart moves can turn any empty space into a gallery that feels personal and polished. Here’s how you can plan, place, and perfect your art arrangement without stress.
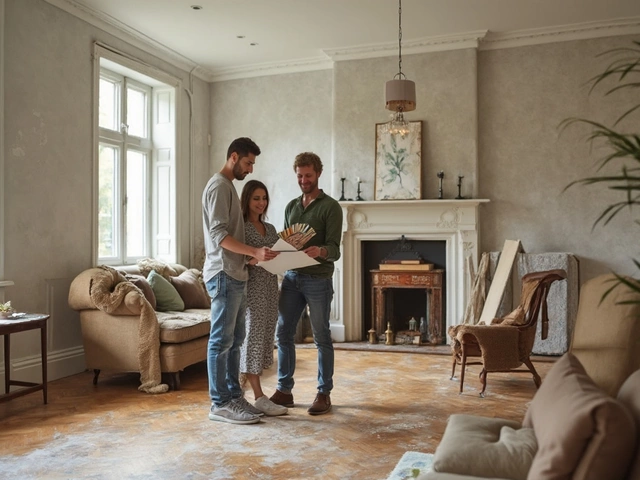
Plan Your Layout Before You Hang
Start with a layout on the floor. Lay all the frames out in the order you think looks right. This lets you see the overall shape and catch any awkward gaps. If you have a lot of pieces, tap them together to form a rectangle, square, or even a loose cloud shape depending on the vibe you want.
Measure the wall space you’re working with. Write down the total width and height, then figure out a comfortable margin on each side—usually 2‑4 inches. This keeps the arrangement from feeling cramped against the edge.
Next, make paper templates. Cut cardstock or newspaper sheets to the exact size of each frame and tape them to the wall with painter’s tape. Step back and adjust until the composition feels balanced. This dry‑run saves you from extra holes and confused placement.
Tips for a Balanced Gallery Wall
Keep the eye level rule in mind: the center of the whole arrangement should sit about 57–60 inches from the floor. It works for most people and makes the display feel natural. If the wall is lower, like a hallway, you can drop it a bit; for a high ceiling, raise it slightly.
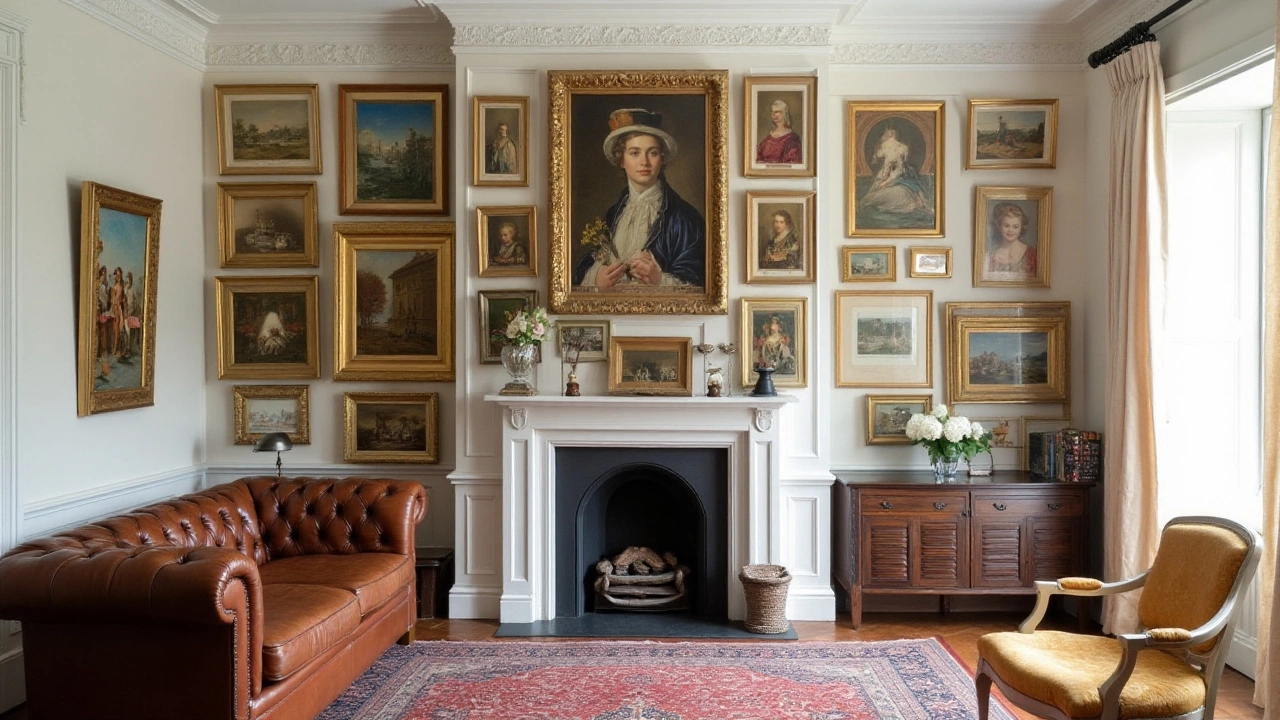
Mix sizes, but keep a visual anchor. A larger piece can act as the focal point, with smaller works radiating around it. Keep consistent spacing—usually 2‑3 inches between frames—so the wall looks orderly, not chaotic.
Themed groupings help too. Stick to a color palette, subject matter, or frame style to give the wall cohesion. If you love variety, use similar frames (all black, all wood) to tie different artworks together.
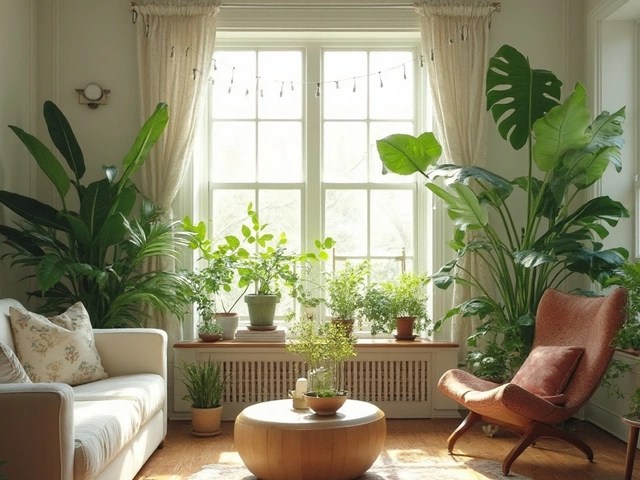
Don’t forget lighting. A directional lamp or wall‑mounted spotlights can highlight key pieces and add depth. If you can, place the arrangement near a source of natural light, but avoid direct sunlight that can fade the art.
When you’re ready, mark the nail spots using the paper templates. A small level ensures each frame hangs straight. Use picture hooks that can support the frame’s weight—better safe than a crooked canvas.
After the first round, step back again. If anything feels off, move it a little. Small adjustments—shifting a frame an inch left or right—can make a big difference. Trust your gut; if it looks good to you, it probably works for others too.
Finally, think about filler art. If you have a large wall and a few big pieces, add smaller prints or decorative elements (like mirrors or woven wall hangings) to fill gaps without stealing the spotlight.
With these steps, you can create a wall that feels curated, personal, and balanced—all without hiring a pro. Grab your frames, tape, and a measuring tape, and start turning blank walls into story‑telling spaces today.