Print Photo as Wall Art: Creative Ideas & Practical Tips
When working with Print photo as wall art, the practice of turning a printed photograph into a decorative piece for a wall. Also known as photo wall art, it lets you personalize any space with a memorable image. This approach blends art and memory, letting you showcase travel snaps, family portraits, or abstract shots without the price tag of museum pieces.
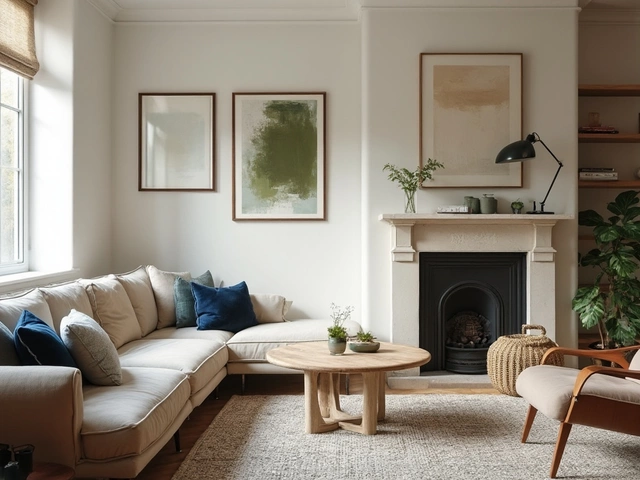
One powerful way to upscale a single photo is to treat it as a Polyptych, a multi‑panel composition that stretches across a wall. A polyptych splits an image into two or more frames, creating visual drama and a sense of scale. By breaking a landscape into three panels, for example, you get depth and movement that a single frame can’t match. This technique encompasses precise measurement, matching frame styles, and careful spacing, which together boost your room’s visual impact.
But a striking print needs more than a clever layout. Wall decor, the broader category of items you hang, includes artwork, mirrors, shelves, and textiles that shape a room’s vibe. When you add a printed photo, you’re not just filling empty space – you’re influencing mood, color balance, and focal points. Good wall styling requires attention to lighting, height, and surrounding colors, ensuring the image feels integrated rather than tacked on.
Key Elements for Successful Photo Wall Art
First, choose a high‑resolution print. Low‑quality paper or a cheap inkjet can ruin details, especially on larger formats. Opt for archival‑grade paper or canvas if you want durability and a premium feel. Second, pick a frame that matches the room’s style – sleek black metal for modern spaces, reclaimed wood for rustic vibes. The frame’s depth also matters; deeper frames add a gallery‑like presence that catches the eye.
Third, mind the placement height. A common rule of thumb is to hang the center of the artwork about 57–60 inches from the floor, aligning it with eye level for most viewers. If you’re working with a polyptych, keep the gap between panels consistent – usually 2–3 inches – to avoid visual clutter. Finally, consider the surrounding palette. Pull colors from the photo into cushions, rugs, or curtains to create a cohesive look that feels intentional.
Beyond aesthetics, practical concerns matter. Ensure the wall can support the weight; heavier frames may need wall anchors or studs. If you rent, removable picture‑hanging strips are a safe alternative that still hold up larger pieces. And don’t forget lighting: a well‑placed directional lamp or picture light can highlight textures and prevent glare, making the photo pop even in dim rooms.
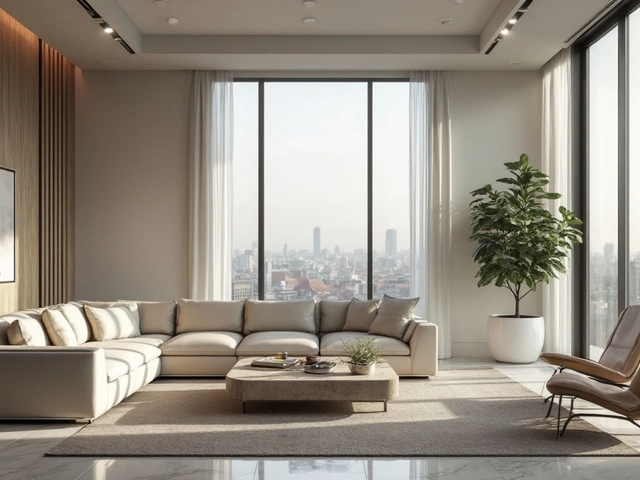
When you blend Interior design principles with your personal photographs, you turn everyday memories into design statements. This synergy influences everything from perceived room size to emotional tone. A large, bold landscape can make a compact living room feel expansive, while a calm seascape sets a relaxed mood in a bedroom.
For those who love flexibility, modular hanging systems let you rearrange panels without new holes. You can experiment with orientation – landscape vs. portrait – or even create a gallery wall that mixes photos with prints, mirrors, and small shelves. This approach enables continual refreshes as your style evolves or your photo collection grows.
Don’t overlook the role of texture. Printing on canvas adds a painterly feel, while matte photo paper offers crisp detail. If you choose canvas, stretch it over a wooden frame for a museum‑like finish; if you go matte, consider a floating frame that reveals a thin border of the wall, giving a sleek, modern edge.
Finally, think about storytelling. Grouping photos from a single trip or event into a polyptych creates a narrative that invites conversation. Pair them with a small plaque or etched label for context, and you’ve turned a wall into a personal gallery that guests can explore.
All of these tips combine to make print photo as wall art a versatile, cost‑effective way to upgrade any interior. Below you’ll find a curated selection of articles that dive deeper into specific techniques, trends, and product recommendations, giving you the tools you need to bring your walls to life.