Television Setup: Practical Tips for a Great Viewing Experience
Got a new flat‑screen and wonder how to make it look and work its best? You don’t need a pro crew – just a few smart choices and a bit of patience. Below you’ll find step‑by‑step advice on picking the right spot, mounting safely, hiding cables, and choosing furniture that adds comfort without clutter.
Choosing the Right Spot
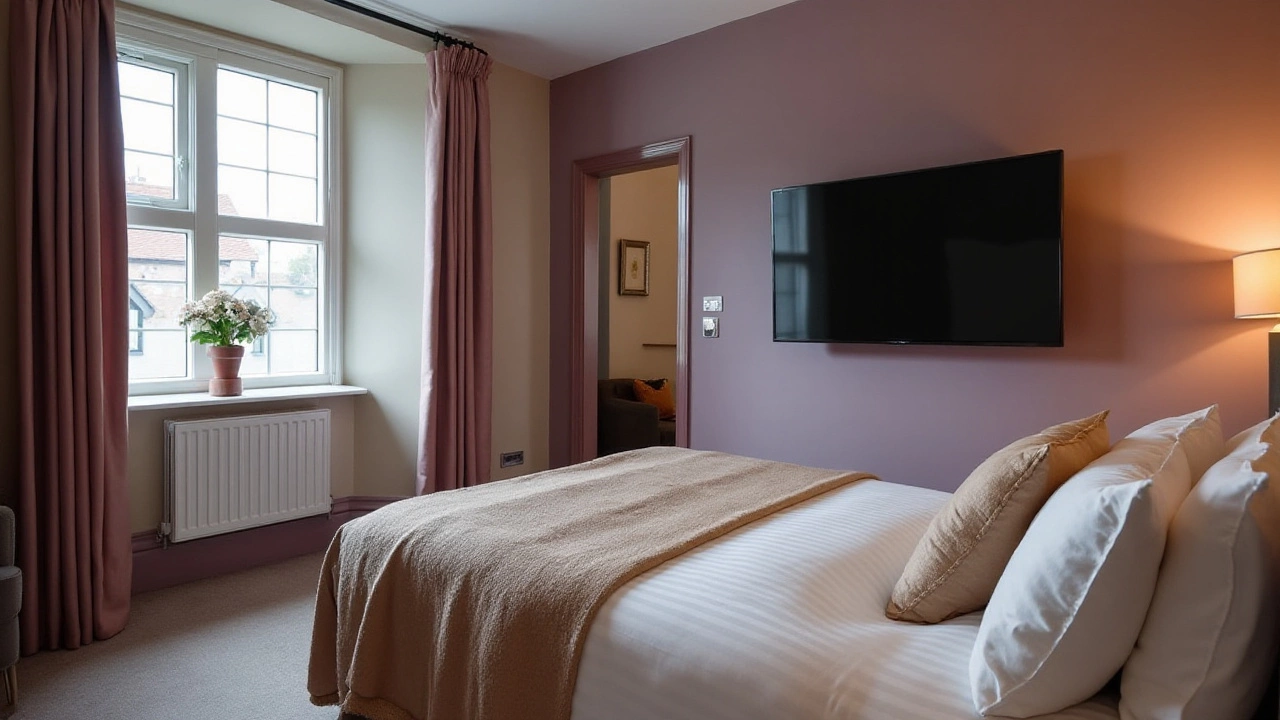
First, think about how you’ll use the room. If you watch movies often, you’ll want a wider viewing angle, so center the TV on the main wall and keep it away from windows that cause glare. A good rule of thumb is to sit about 1.5 to 2.5 times the screen’s diagonal away – that means a 55‑inch TV feels perfect from roughly 7 to 11 feet.
Measure the wall space before you buy a mount. Make sure there’s enough clearance for speakers, décor, or a console underneath. If the room is small, a low‑profile wall mount keeps the TV close to the wall and frees up floor space.
Mounting and Wiring Made Simple
When you’re ready to mount, use a stud finder to locate the wall studs – they’re the safest places to anchor the brackets. A standard 5/8‑inch mount fits most TVs, but always double‑check the VESA pattern in your TV’s manual.
Run the power cord and HDMI cables through the wall if you can. Many homes have a conduit behind the drywall; if not, use surface‑mount raceways that paint to match the wall. This hides the mess and keeps kids from tugging on cords.
Don’t forget the lighting. Soft, indirect lights behind the TV (bias lighting) reduce eye strain and make the picture pop. A single LED strip along the top or bottom is enough and costs a few dollars.
Furniture and Comfort
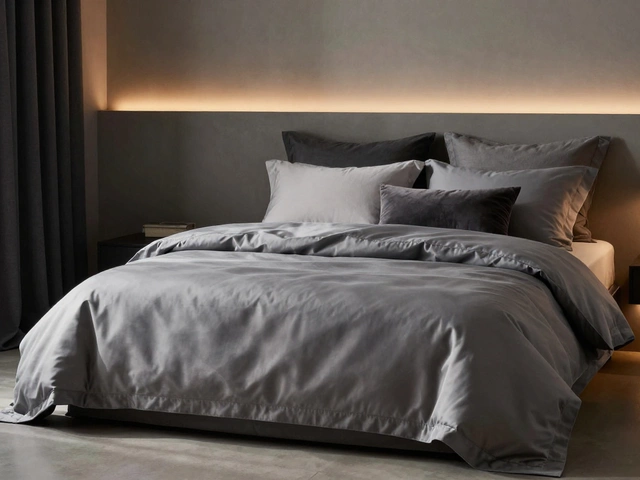
A low TV stand works well for sitting on a sofa or floor cushions, but make sure the stand’s height matches the eye line when you’re seated – usually around 42 inches from the floor to the screen’s center.
If you prefer a floating look, pair the mount with a sleek console that hides media players, game consoles, and extra cables. Choose a console with open shelves for ventilation and closed doors for a tidy appearance.
Arrange seating so every viewer has a clear view. Recliners or lounge chairs angled slightly toward the screen create a relaxed feel and improve sightlines.
Final Tweaks
Once the TV is up, calibrate the picture using built‑in settings or a free calibration app. Adjust brightness, contrast, and color temperature to match the room’s lighting – brighter rooms need higher brightness, darker rooms benefit from deeper blacks.
Lastly, test the sound. If the TV’s built‑in speakers feel thin, add a soundbar or bookshelf speakers. Place them at ear level and keep them angled toward the listening area for clear, immersive audio.
With these steps your television setup will look sleek, work smoothly, and give you a comfortable viewing spot for movie nights, gaming marathons, or lazy evenings. Enjoy the new look and the great picture you’ve just created!